Publish: Getting Started
So you're an iOS developer and you want to share your thoughts and experiences with the world? You've looked into using SquareSpace, Wix, or Ghost but you just weren't keen on spending the money. You also thought about publishing articles on Medium, Hashnode, or DEV but you were a bit concerned about intellectual property. You heard about static site generators and you looked into using Jekyll and Hugo, and probably got lost in the hundreds of options you've seen on Jamstack.
Maybe you're not an iOS developer, and you just like building things. More importantly, you're interested in building things using Swift.
If you're reading this, you have probably heard of Publish.
In this series, we'll look at how you can get started with Publish by creating a simple website. I had a ton of fun building this website using Publish and I think you will too.
Using Mint
Publish comes in 2 parts:
- the actual static site generator
- the command line tools that helps during development and deployments
Although the documentation suggest to install the CLI tools using Homebrew, I would recommend using Mint instead. Using Mint allows you to control the version of Publish you want (or need) to use. Follow the instructions in the README to install Mint.
Create a new folder for this project, we're going to be using HelloPublish. In the project folder, create a file named Mintfile with the following content:
Now that you have a Mint configuration, you can install the Publish CLI by running this command:
You can now access Publish CLI by prefixing the publish commands with mint run:
Getting Started
You're now ready to start creating your new site.
⚠️ There is a limitation and/or bug in the Publish CLI at the time of writing. The CLI expects the folder to be empty. However, in the previous section we created a
Mintfile. In order to get around this limitation, we'll create our site in a temporary directory. Then, simply move the site up one level and delete the temporary directory.
Start by creating a new directory named HelloPublish inside of the existing HelloPublish project directory. I know, I know, bear with me 🐻:
To create a new site in the current folder (i.e. HelloPublish/HelloPublish), run the following command:
Now that we have created the site, move all files and folders up one level. Make sure to include the .gitignore file that was created.
You should now end up with this structure:
Let's get things running! Start your website by running this command:
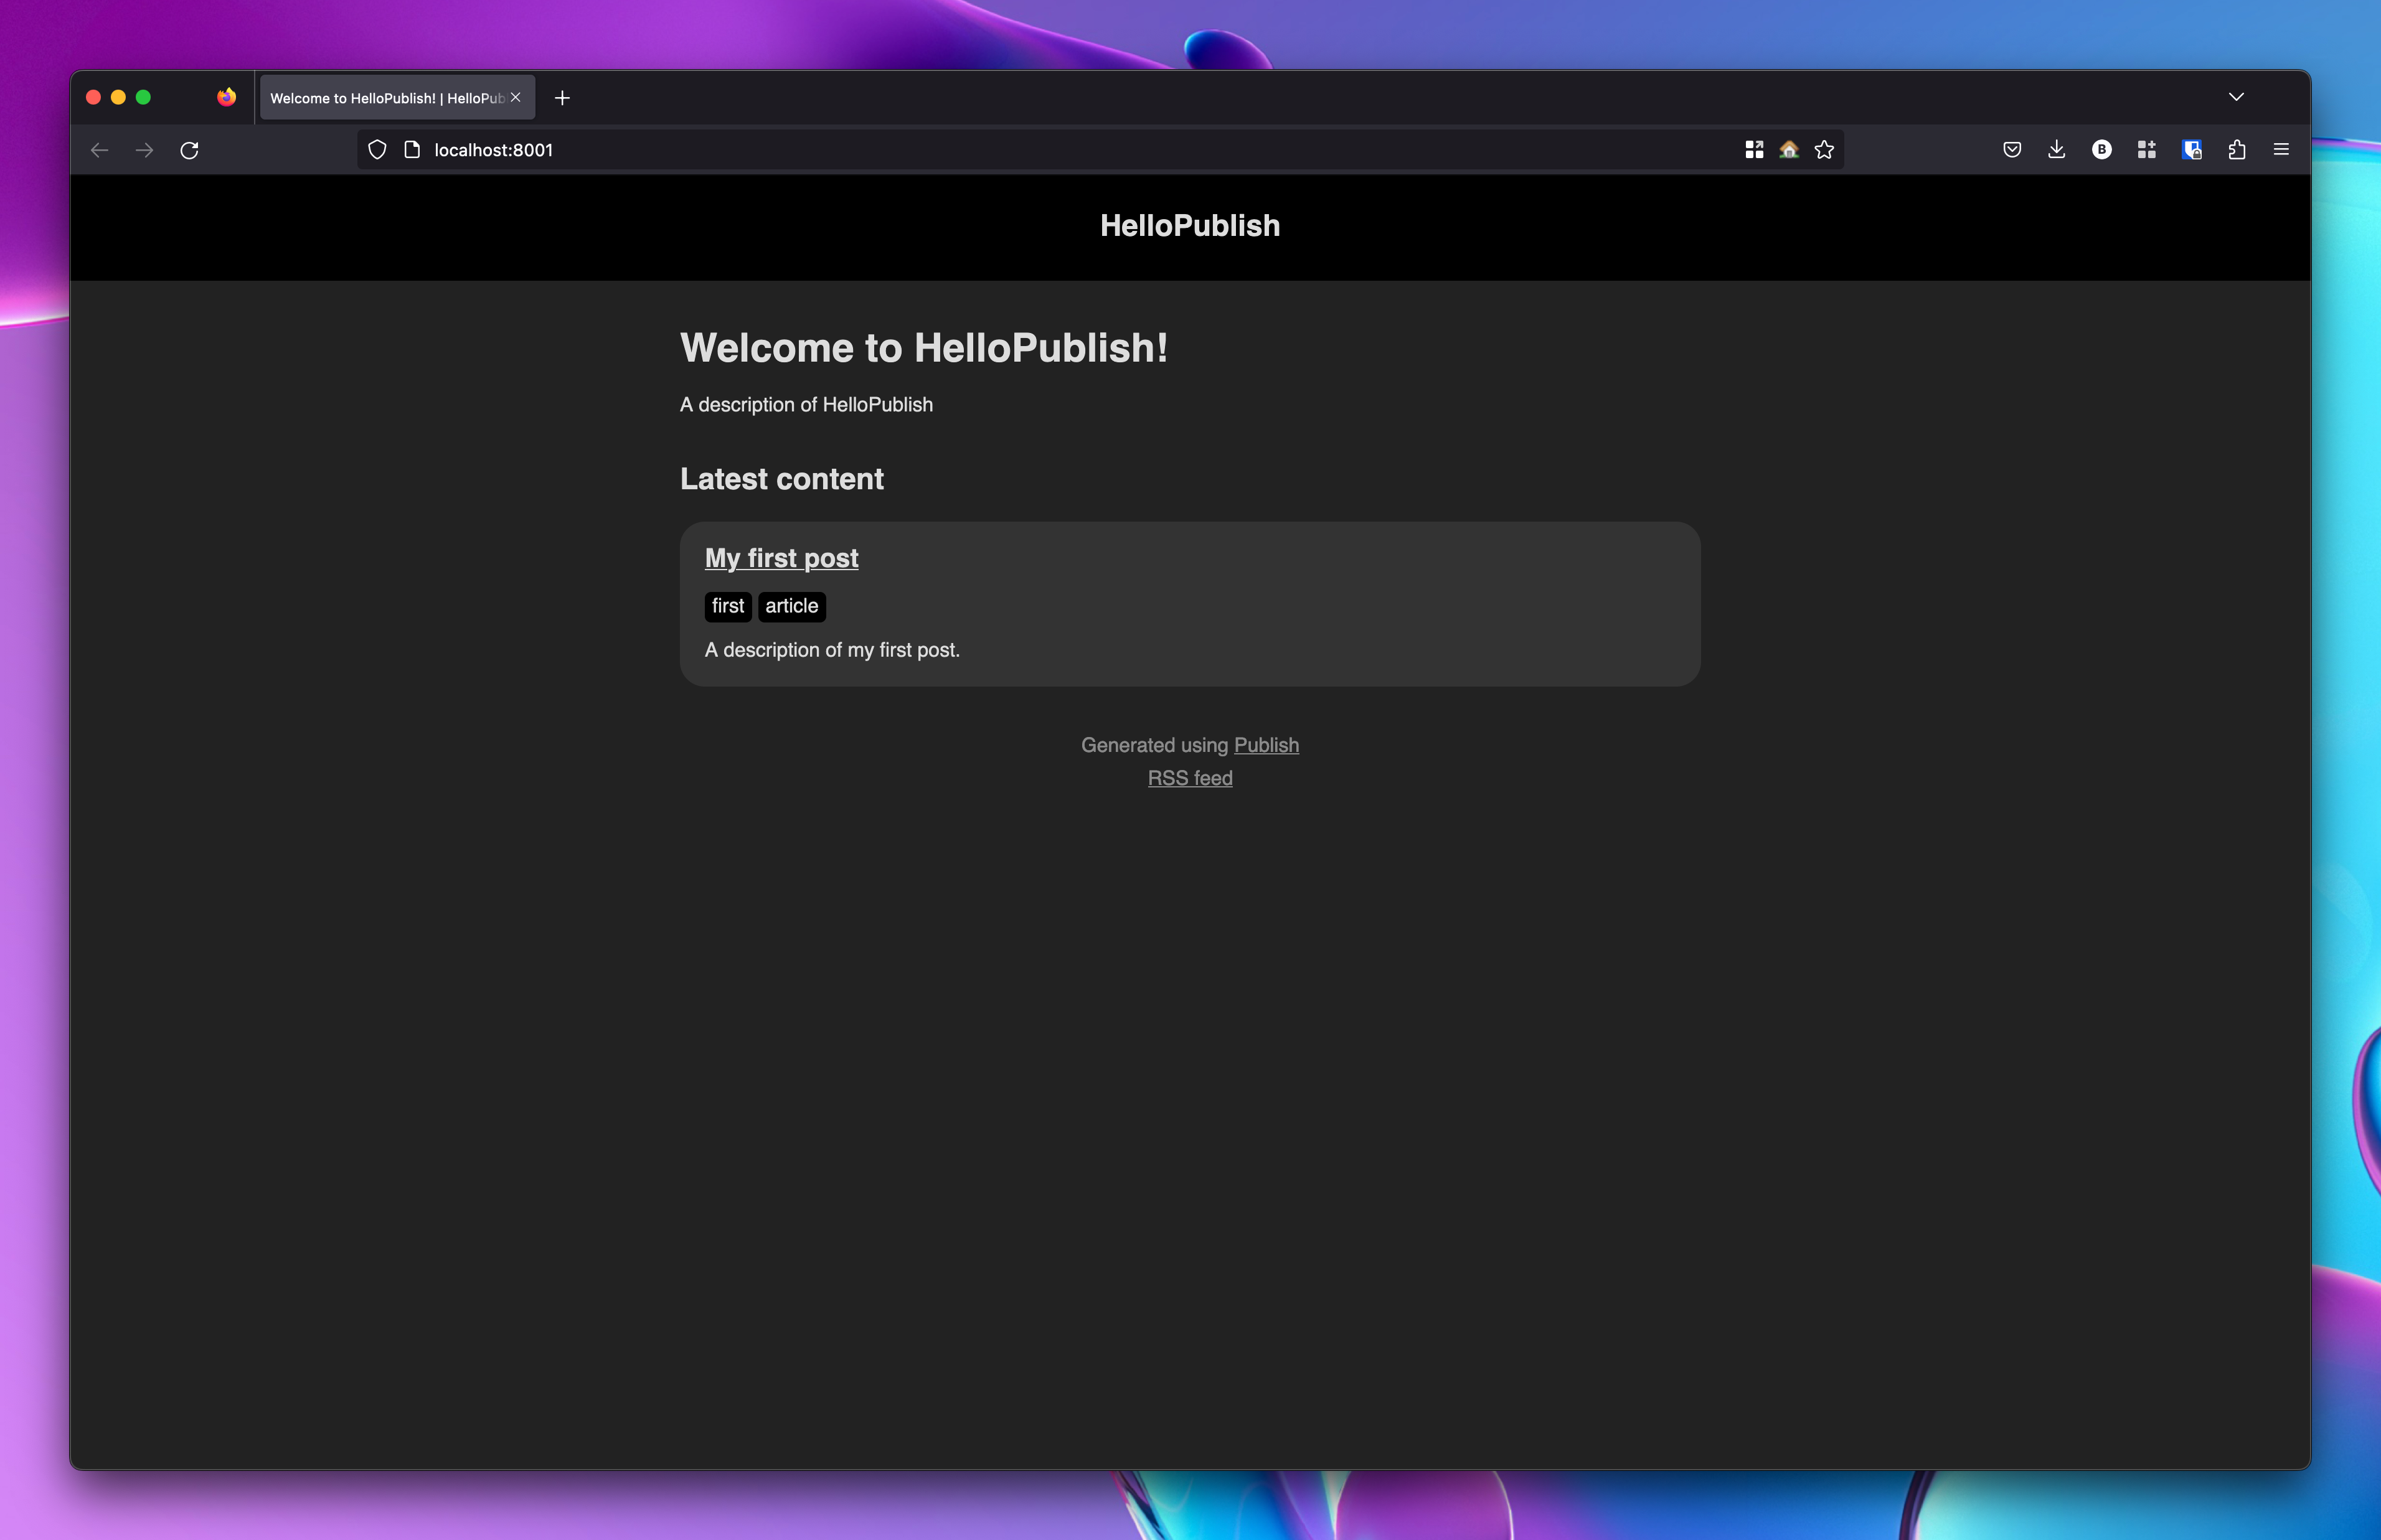
What are you waiting for? Open the local web server URL in your browser!

ℹ️ The reason why we did this little folder dance above is because the Publish CLI will actually use the folder name in the generated
Package.swiftfile as well as in a couple other places.
Open up the Package.swift file:
Your whole website takes the form of a Swift Package containing a single executable target, and a single dependency.
You can now open this package in Xcode:

Every time you build and run the package in Xcode, your website will be regenerated in the Output folder. Xcode is not hosting a web server for you. It only generates the website. In order to host/run the website, you must use the publish run command.
Conclusion
I've had a bit of a "dual" workflow while building this site. For all the Swift parts, I've been using Xcode since I'm so used to it. However, Xcode lacks a lot of the niceties that an editor like VS Code provides when editing CSS and other web languages.
For this reason, I recommend installing this VS Code extension. It will allow you to build and run the package directly in VS Code by using CMD+R, just like you would in Xcode. If you're comfortable using VS Code for Swift, then VS Code is all you need!
Alright, it's getting late. In the 2nd part of this series, we'll look into main.swift and how to create a custom theme for your site.
Don't forget to tell someone you love them.
Cheers! 🍻