Overview
I've been wanting to start a blog for a few years. I figured I start with a post about my command line setup given how often I am being asked about it. Admittedly, I have spent many hours (possibly years) getting it just right and am constantly trying to improve it.
Version it!
Let's start with my strongest weapon... git.
I have a git repository in my home folder.
This sounds a bit odd, but it allows me to jump on any machine (or completely reinstall macOS), clone the repo and hit the ground running with my tools, configs and shortcuts. However, you must be careful about what you commit. Maybe don't commit SSH keys?
On a brand new installation of macOS:
- Install Xcode and its command line tools
- Clone your repo in your home folder:
Here's an incomplete list of things I keep in this repo as examples:
~/.gemrc
~/.gitconfig
~/.gitignore
~/.gitignore_global
~/.npmrc
~/.pryrc
~/.vimrc
~/.zshrc
~/.zprofile
~/Library/Developer/Xcode/UserData/FontAndColorThemes/Argonaut.xccolortheme
~/Library/Developer/Xcode/UserData/FontAndColorThemes/Yozora Large.xccolortheme
~/Library/Developer/Xcode/UserData/FontAndColorThemes/Yozora.xccolortheme
~/Library/Developer/Xcode/UserData/KeyBindings/My Key Bindings.idekeybindings
iTerm2
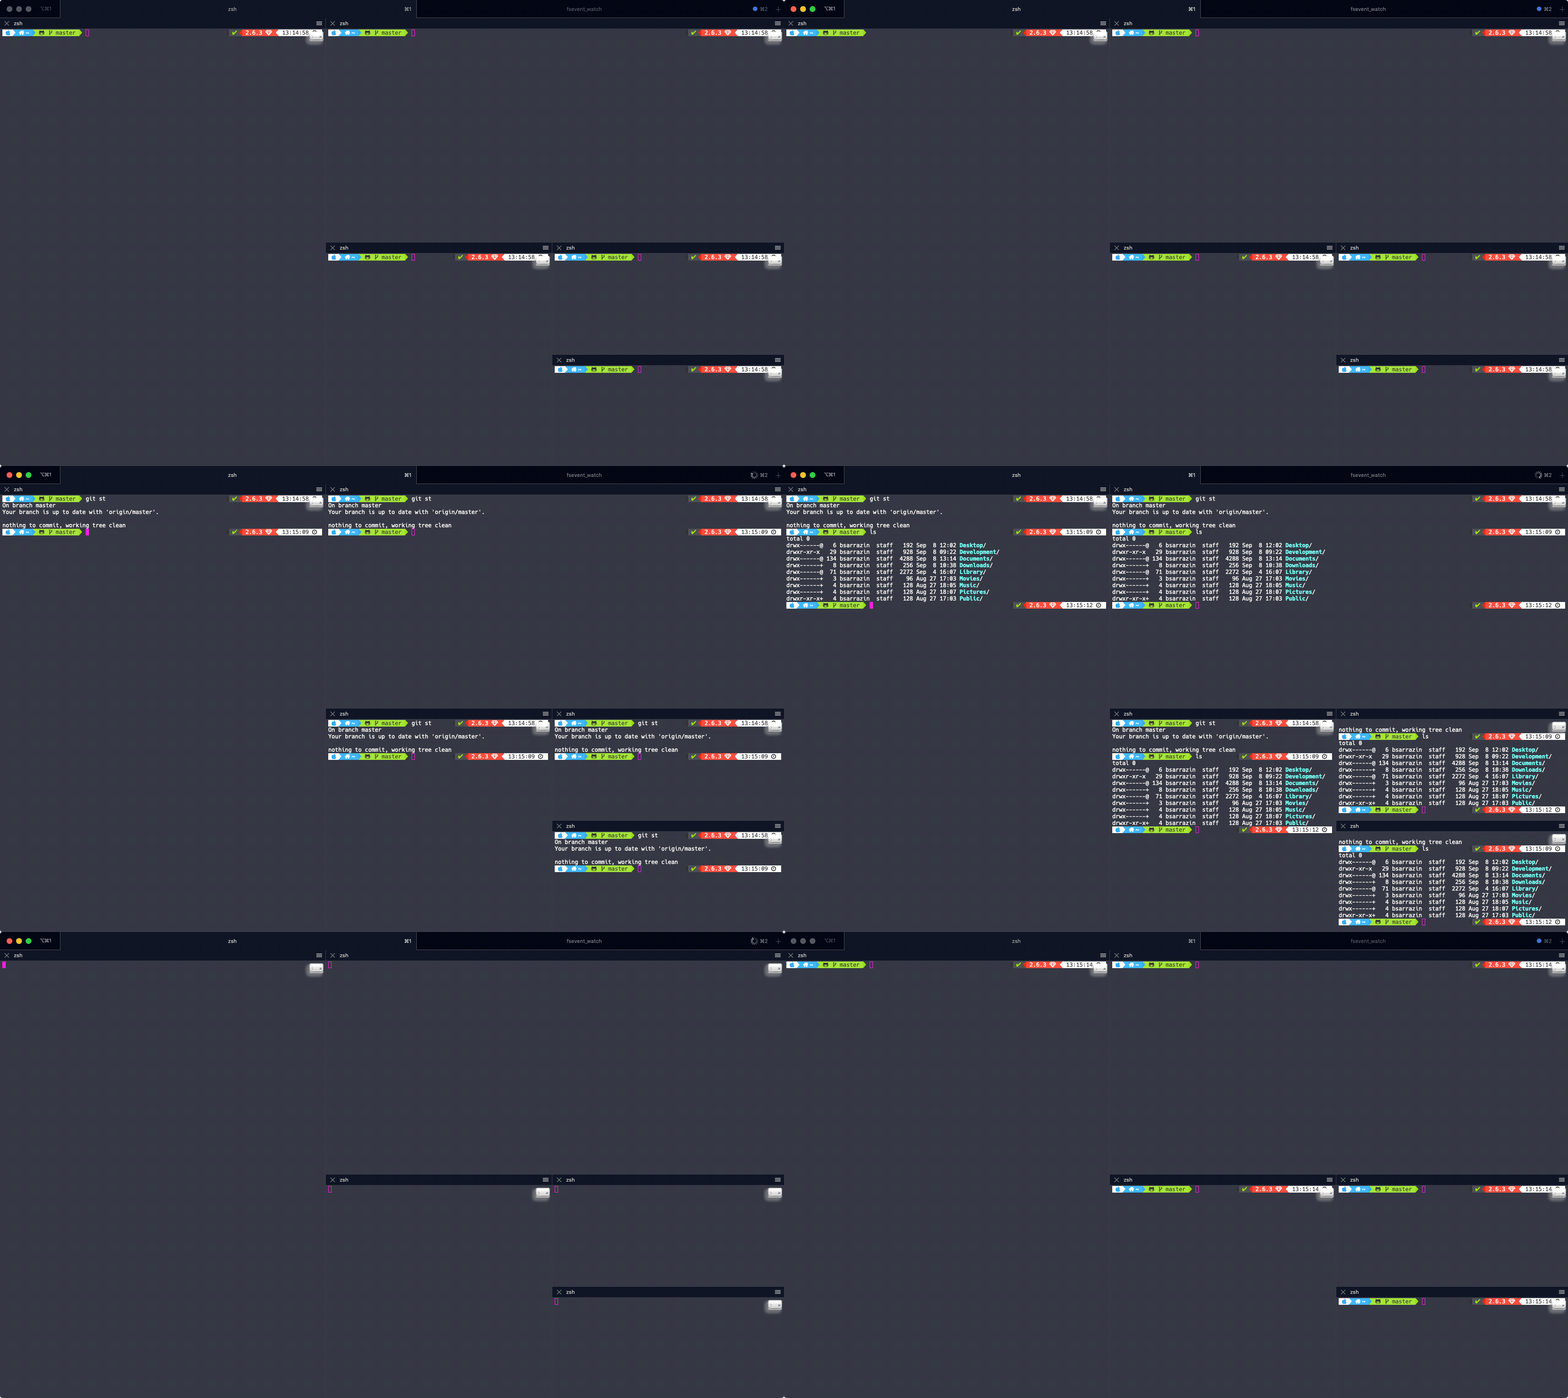
The macOS Terminal is fine, and has come a long way since the ealy days but I still prefer using iTerm. I love that I can split the panes vertically and horizontally within the same tab. I can also broadcast the same command to all panes:

Head over to https://iterm2colorschemes.com/ to pick your favourite colour scheme. I am currently using Argonaut.
ZSH
You might have noticed the terminal theme I am using.

I absolutely love it. I can see which version of Ruby is currently active, I can see the time which allows me to figure how long a command took. This theme also allows me to see git information, such as the current branch, uncommited files, modified files, stashes, and if there are remote changes.
All of these are made possible by combining ohmyzsh, the Powerlevel10k theme and Hack Nerd Fonts.
ohmyzsh
Bash is fine, but it doesn't do anything special. I switched over to zsh a few years ago and I'm never going back, especially now that macOS ships with zsh. This shell supports case insentivity, themes, autocompletion, plugins and more. Head over to the website or the github repo and follow the installation instructions.
Powerlevel10k
To install the powerline theme, clone the repo in the right spot:
Hack Nerd Fonts
You see the little Apple logo? the little GitHub logo? the home folder icon? the Ruby icon? The hack nerd font is what makes this work. Otherwise you end up with something like this:

To install Hack Nerd Fonts, you can follow the instructions on the github repo. I personally prefer using Homebrew as it's much simpler.
Tying it all together...
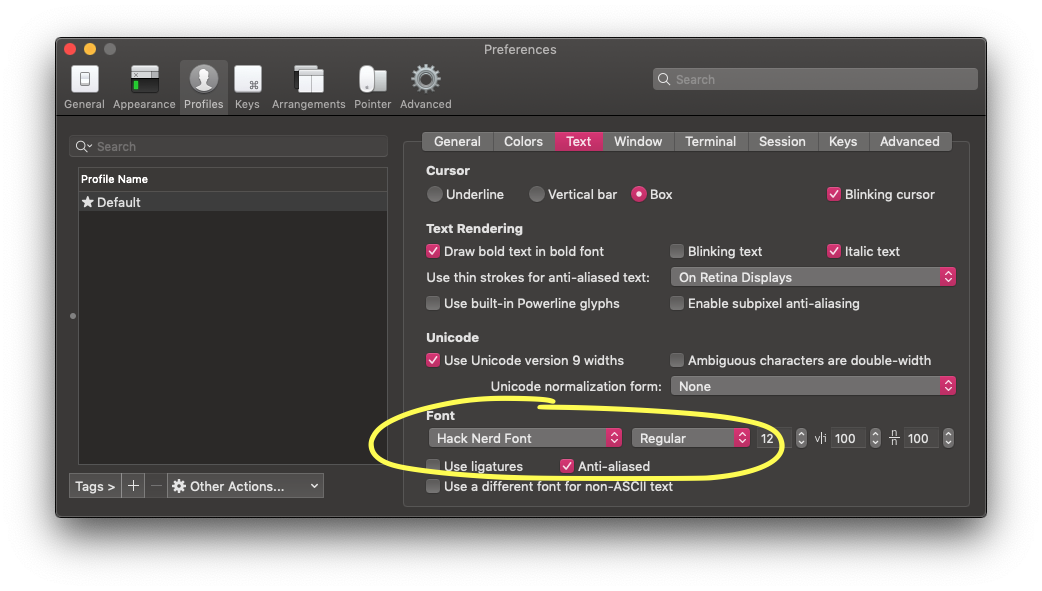
- Make sure you set the font of your terminal to Hack Nerd Font

- Make use of the them in your
.zshrcfile. Here's an excerpt of mine:
Conclusion
I am spending a lot of hours in the terminal and I think it's worth spending some time to make it feel cozy and useful.
You might have noticed rbenv in the .zshrc excerpt. It's one of my main tools for mobile development and I'll explain why in a future post. In the meantime, head over here to see why I think rbenv is superior to rvm.
Since moving to a new M1 Max MacBook Pro, I've started using asdf instead. It allows me to manage all my needed runtimes; ruby, python, node, go, etc... all in a single tool. If you're also using an M1 and you're keen on learning a bit more about how the terminal behaves and how it handles architectures, I recommend listening ot Josh Holtz's video on this subject.
Cheers! 🍻